
Workshop Activity
The Workshop Activity is a peer assessment tool where students can submit their work and they receive two grades, one for their submission and another for their peer assessment of other students' work. Workshop is similar to the Assignment activity, extending its functionality.
Table of Contents
Adding a Workshop
Assessment Form
Submission Phase
Assessment Phase
Grading Evaluation Phase
Closed Phase
To add a Workshop activity, turn editing on and click the "+Add an activity or resource" link in any section of your course. You will see the following:
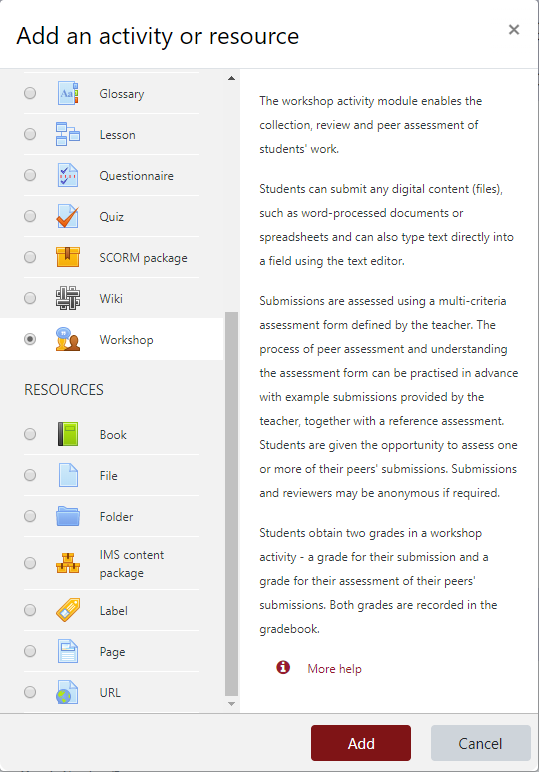
Select the 'Workshop' option. Now click the 'Add' button.
You will then see the following page:
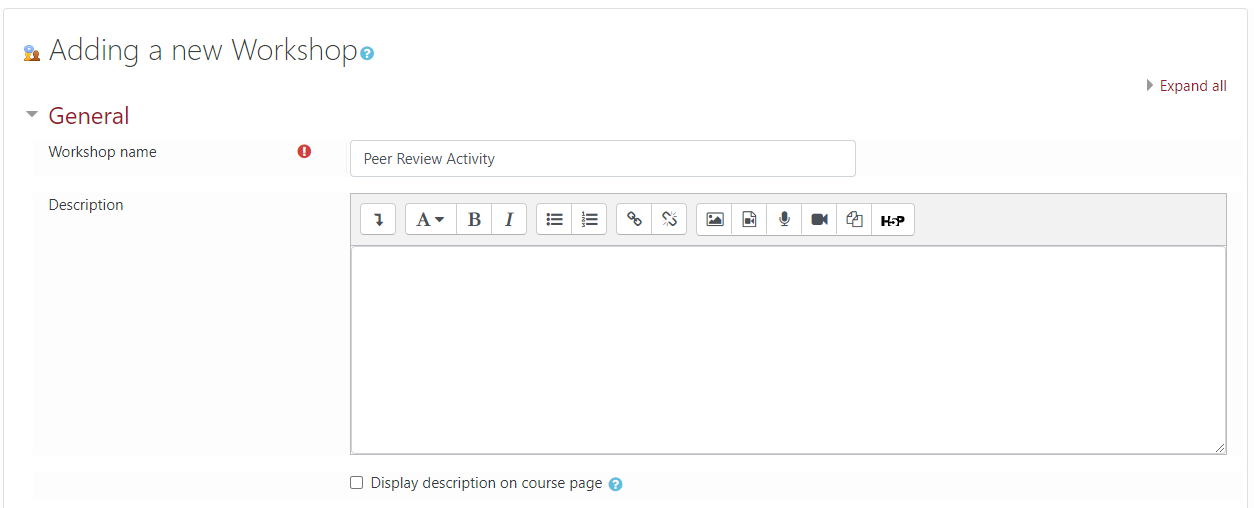
The Workshop Name entry box is where you name your workshop. This title will appear in your course as a link to the workshop and at the top of the workshop when students access it. You may also enter a 'Description' for your activity.
Now, look for the Grading settings branch.
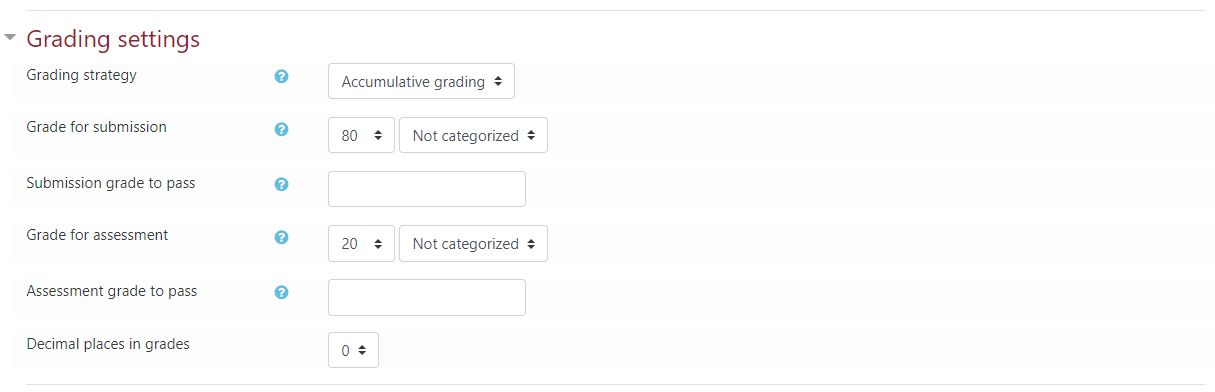
The Grading Strategy has four options:
- Accumulative grading - Comments and a grade are given regarding specified aspects
- Comments - Comments are given regarding specified aspects but no grade can be given
- Number of errors - Comments and a yes/no assessment are given regarding specified assertions
- Rubric - A level assessment is given regarding specified criteria
By default, a Workshop activity is worth 100 points with 80 points allocated for the student's submission and 20 points allocated for the assessment. You may change these values as needed.
For this example, leave the grading strategy set to the default, 'Accumulative grading', and the grades set to 80 and 20.
Expand the Submission settings branch.
In the Instructions for submission area, type all instructions and rules for your peer review activity.
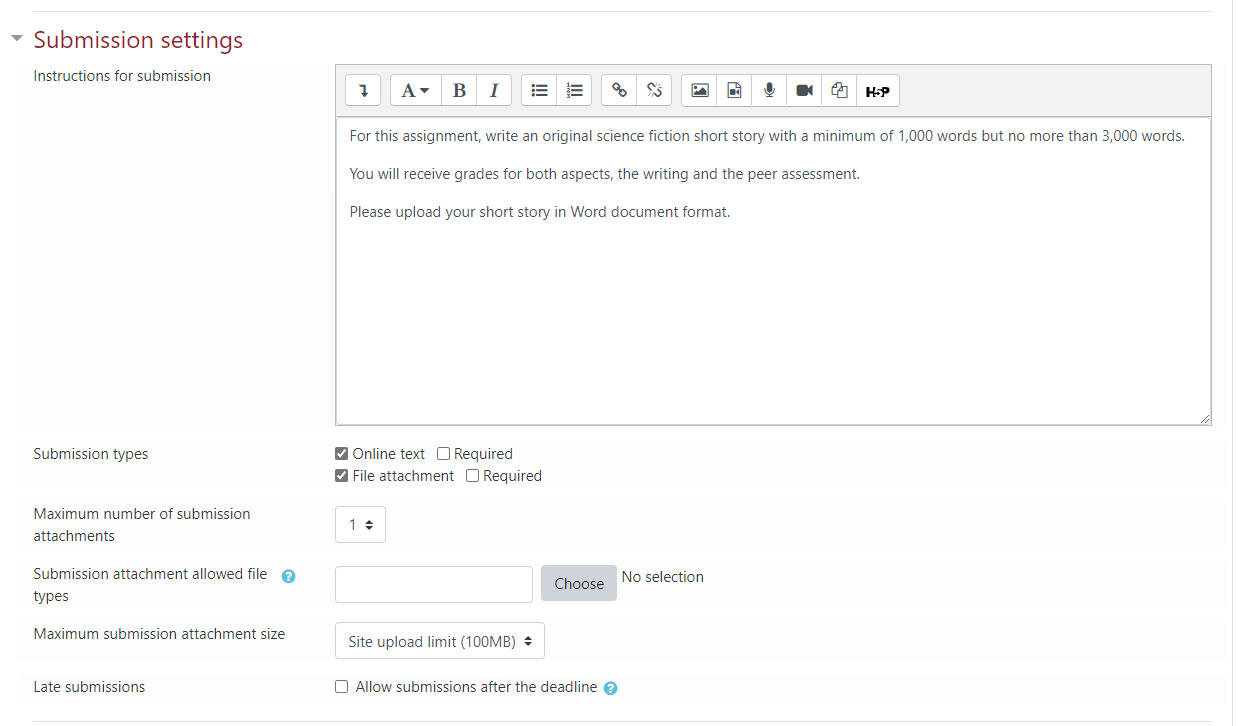
If you check the 'Late submissions' check box, students may submit their work after the submissions deadline or during the assessment phase.
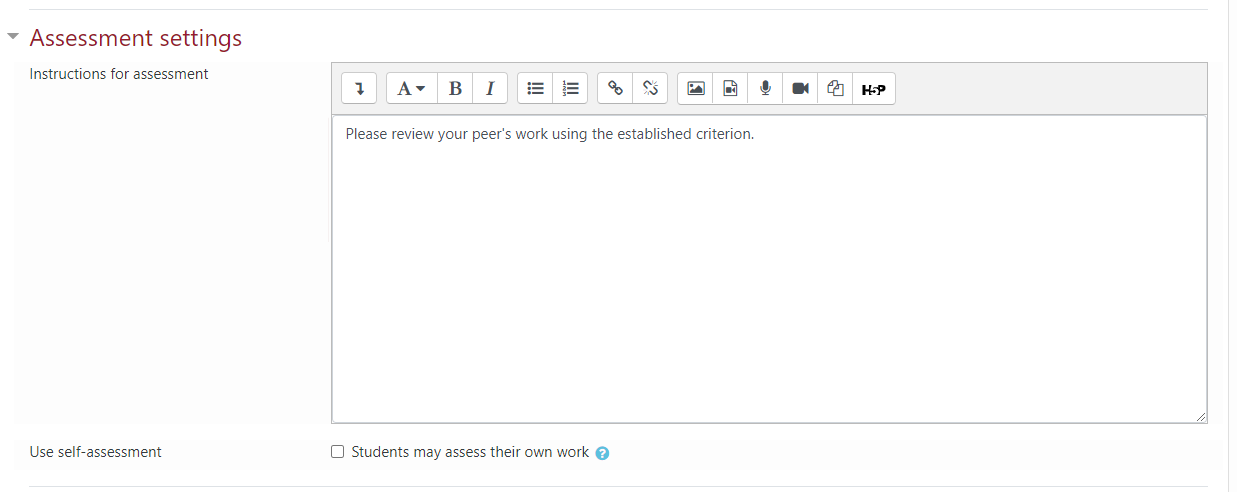
Expand the Assessment settings branch.
In the Instructions for assessment area, type all instructions and rules for the assessment phase of your peer review activity.
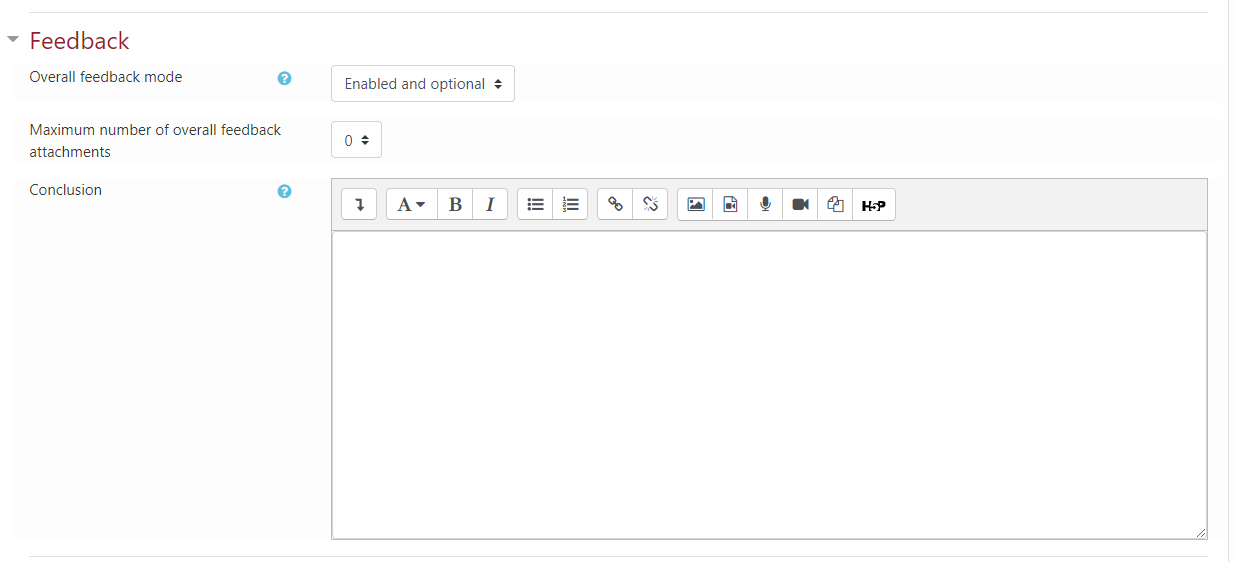
Now, expand the Feedback branch. By default, overall feedback is enabled and optional. You may change it to either Disabled or enabled and required.
Now, expand the Example submissions branch. Here you may enable examples so students can try assessing one or more example submissions.

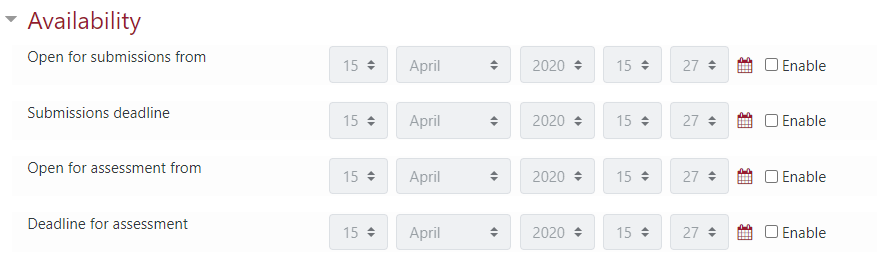
Expand the Availability branch.
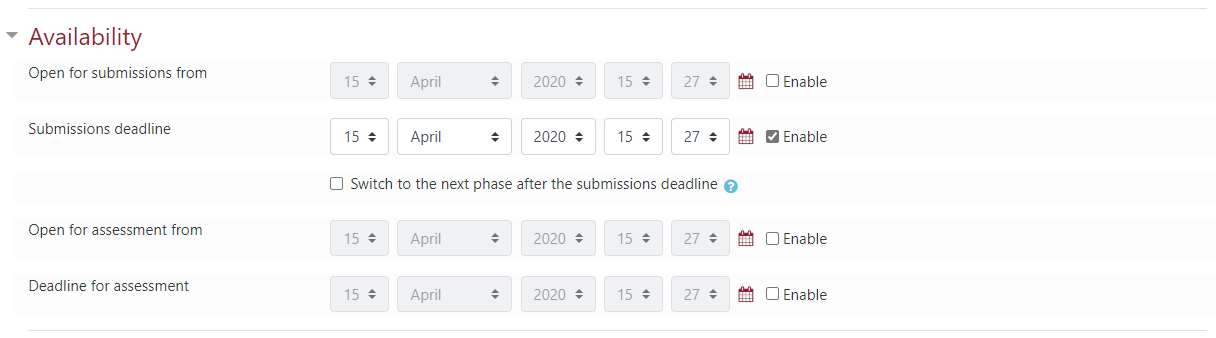
Here, you can specify a time where submissions are opened and closed and also open and close times for the assessment phase. If you want your Workshop to automatically move to the Assessment phase after the submission deadline passes, first check 'Enable' box for the Submission deadline. The 'Switch to the next phase after the submissions deadline' check box will become available. Note that if you do NOT specify these open and close times, you must manually move your Workshop activity between the different phases.
With the Submissions deadline enabled:
To view your Workshop activity, click the Save and display button.
The Workshop control panel shows you the four phases of a Workshop activity. The Setup phase will show as currently active. The next step is to create the assessment form.
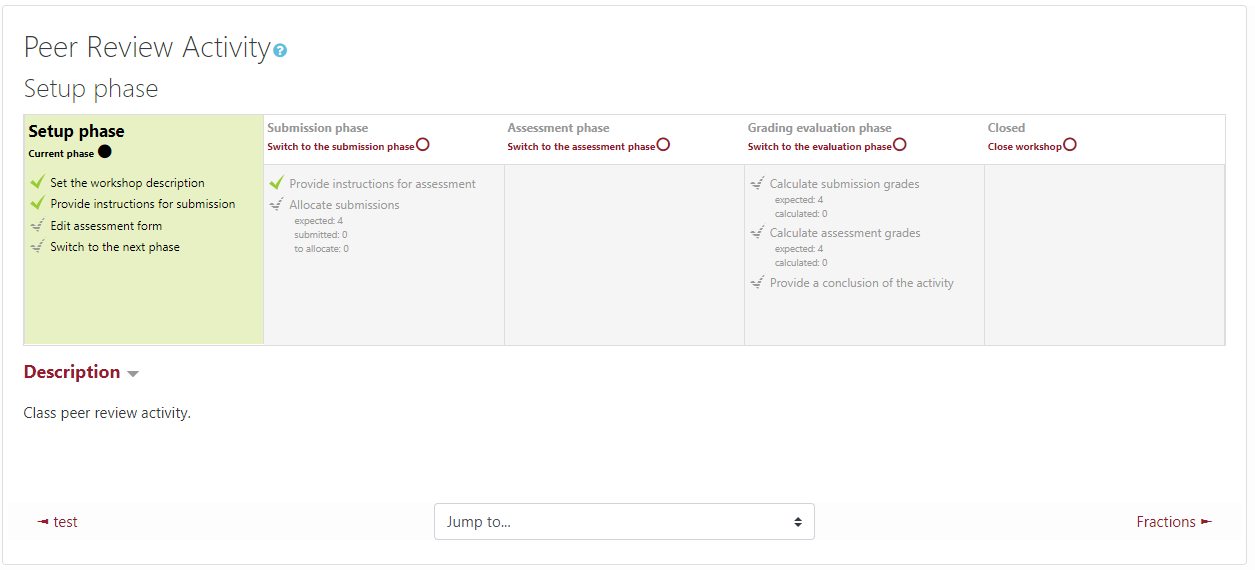
To access the Assessment form, click 'Edit assessment form' in the Setup phase section. This section is where you set your criteria for the students to peer review.
Enter your first criteria in the Aspect 1 branch:
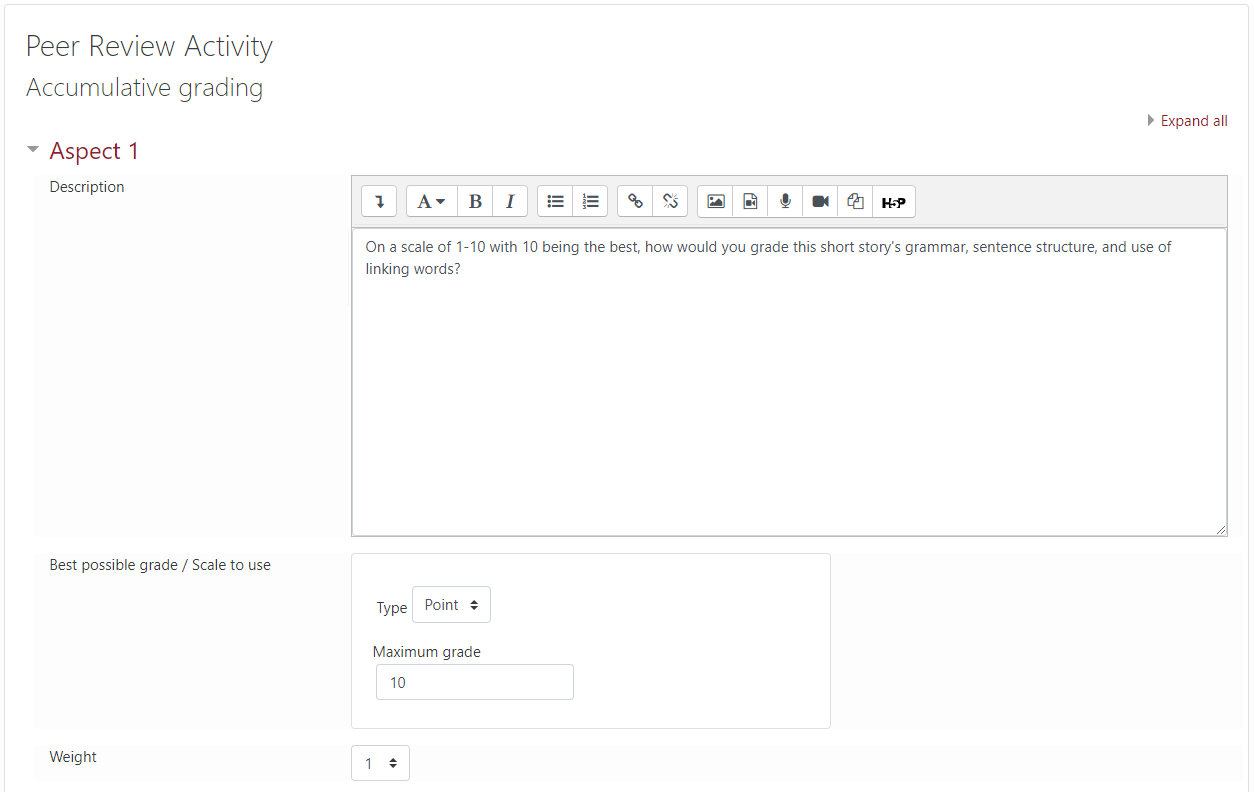
Continue with Aspect 2 and so on.

Once you have entered your assessment aspects, click 'Save and preview' to check them and then click 'Save and close' to return to the Workshop activity control panel.
Now you should see a green check by the Edit assessment form link.
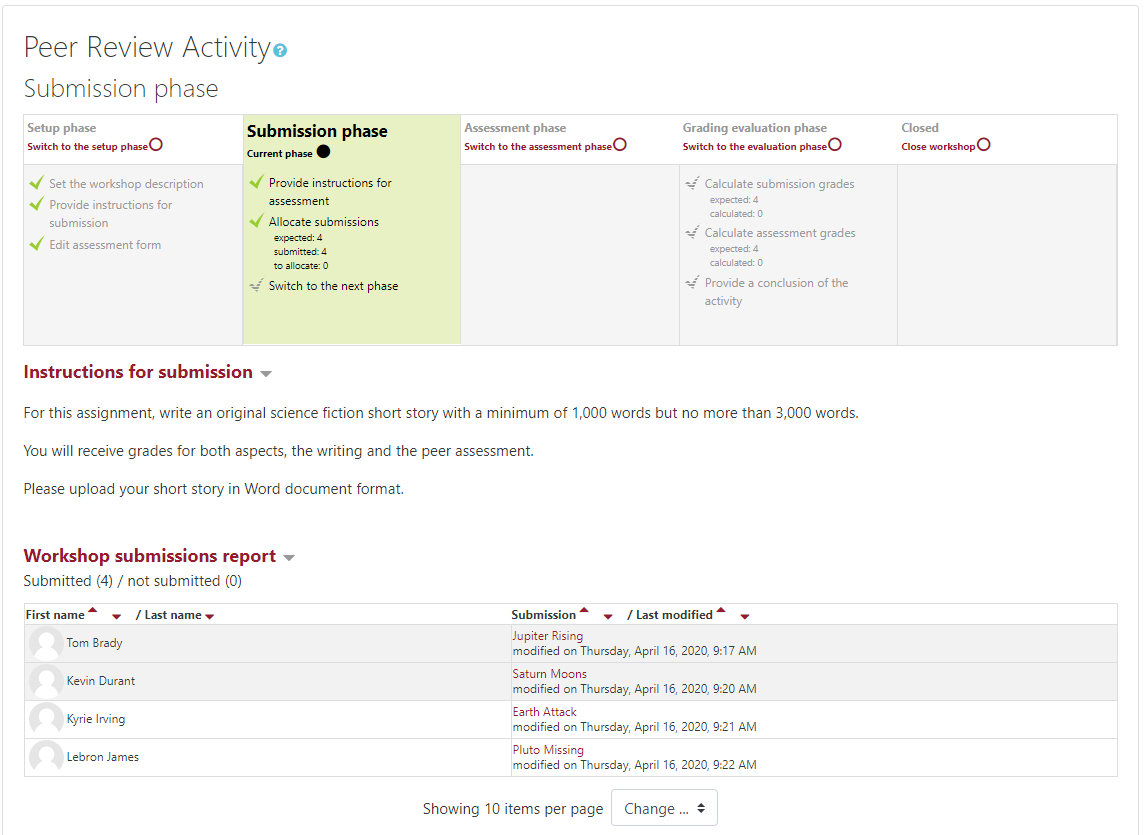
The Workshop activity is now ready for students to submit their assignments. Now you can move to the Submission phase by clicking the Switch to the submission phase link.
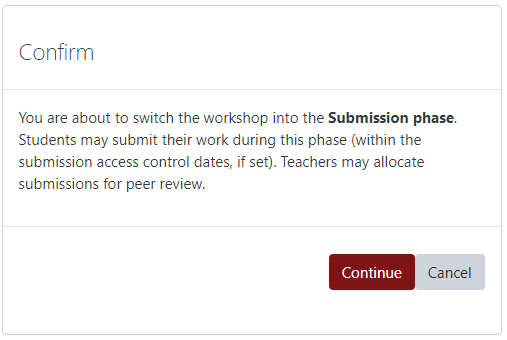
You will see the following. Read the message and click the Continue button.
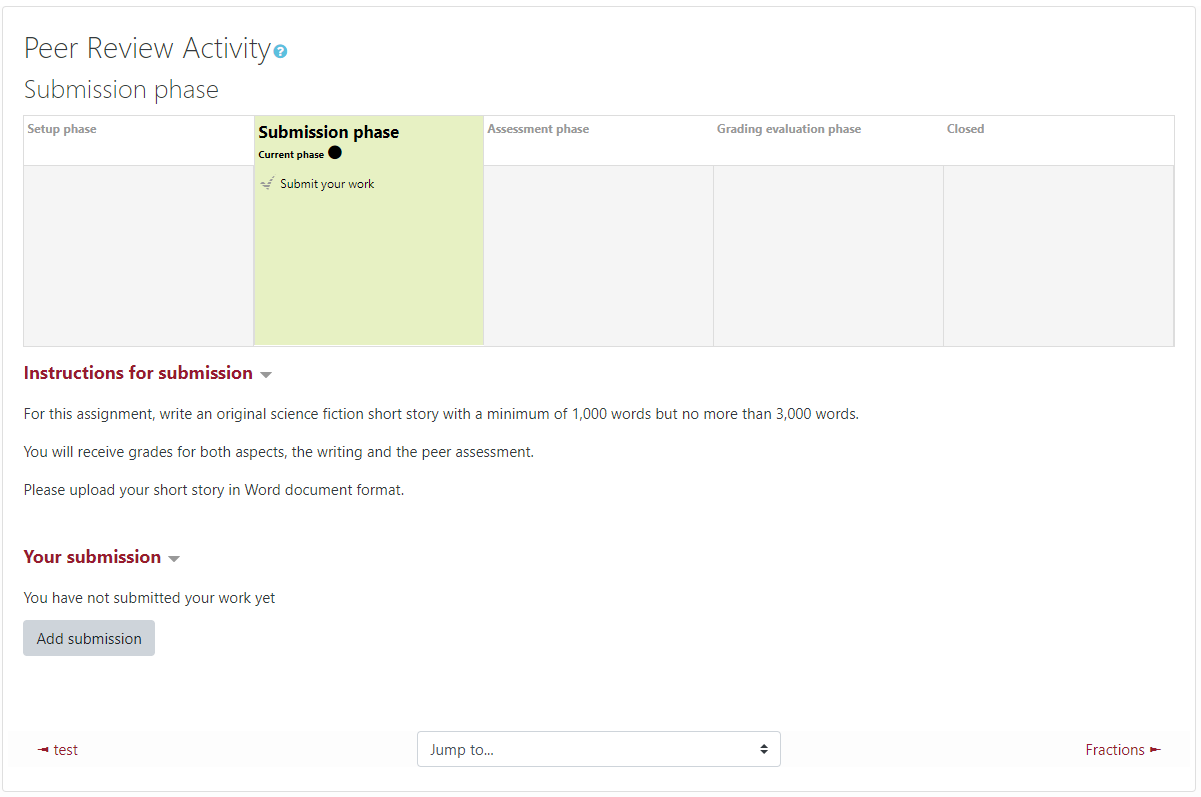
During the submission phase, students upload their work and the teacher can allocate the submissions for peer review.
Student View
For the following section I have logged-in as a student account.
The student will see the following on the Workshop control panel:
Click the Add submission button. The student will see the following:
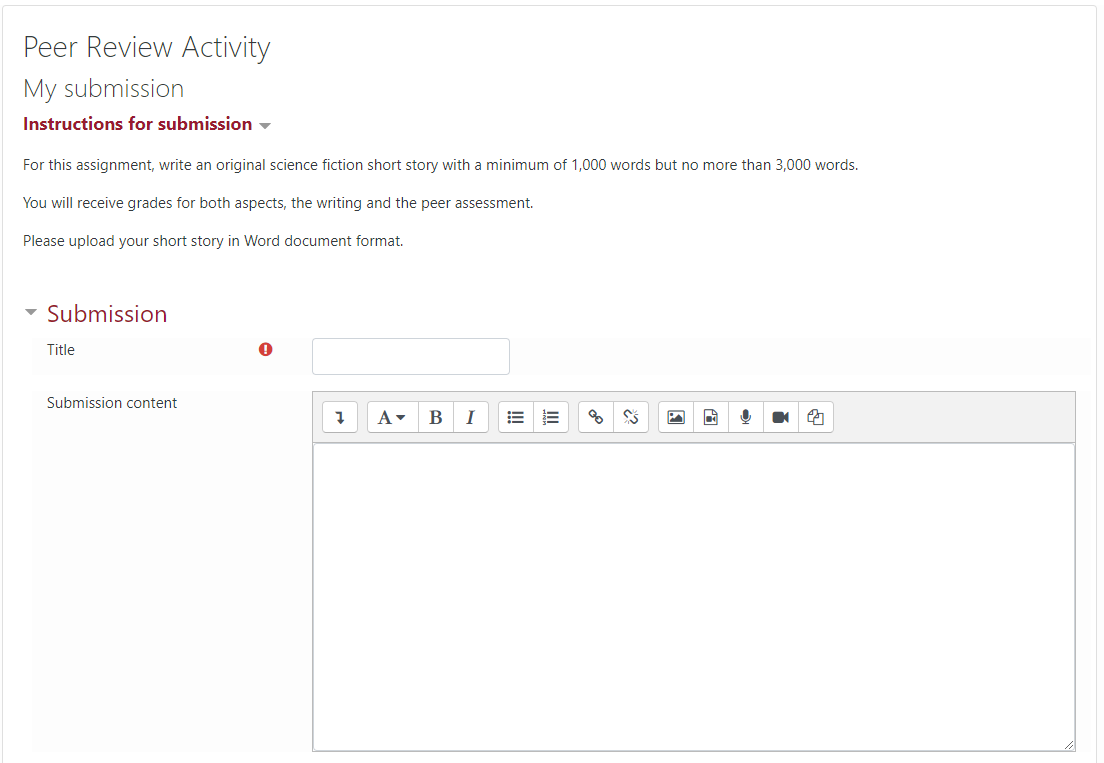
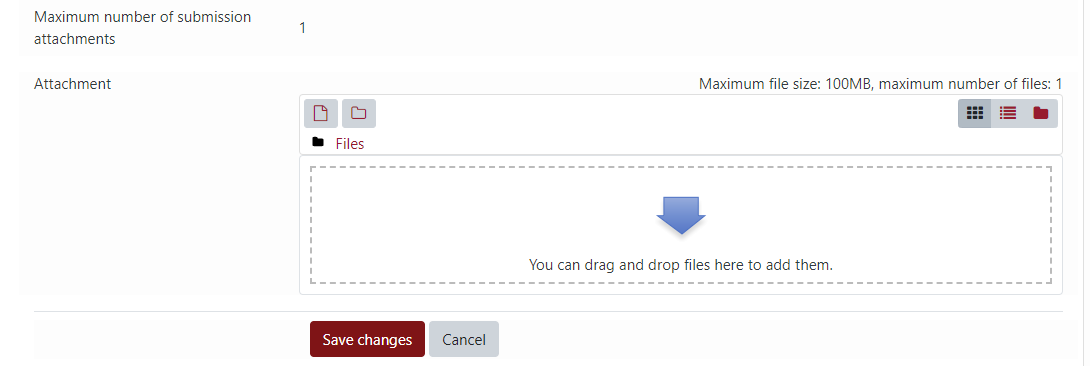
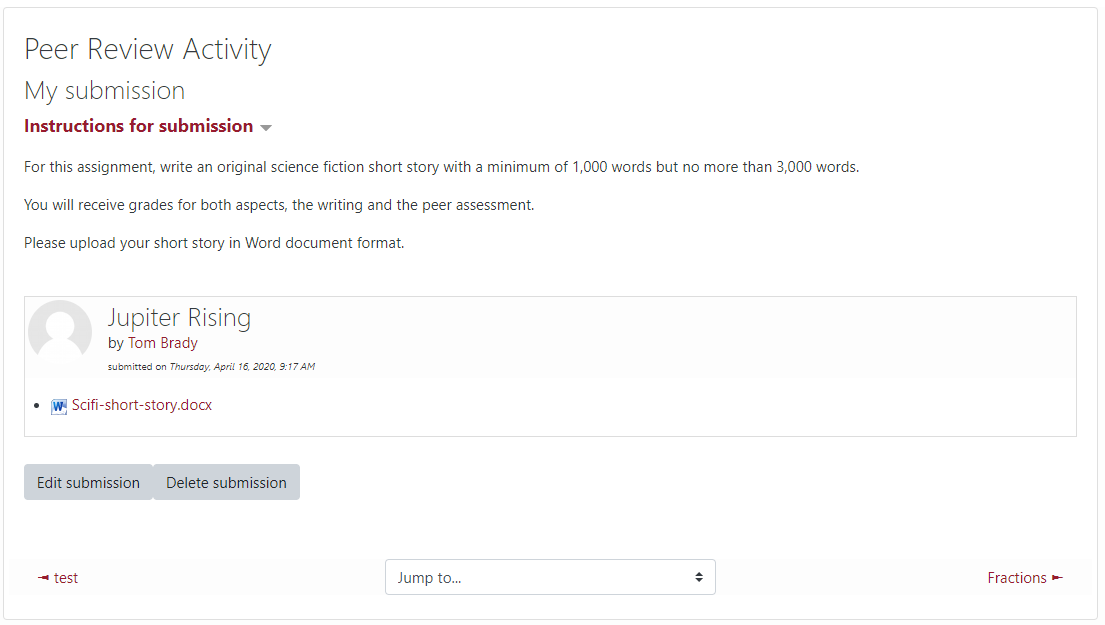
In the above screenshot, the student entered the Title of their submission and added the Word document file attachment to the submission.
*Note that if you prefer, students do not have to upload a file attachment for peer review. They can just type in the 'Submission content' area for their submission. The Moodle Editor is available for this option.*
Now the student clicks the 'Save changes' button. The student may edit their submission if desired. They will see the following:
Return to Teacher View
Now, returning to teacher view, you will see that all students have submitted their work.

Now the teacher must allocate the submissions so the Assessment phase can begin.
Click the Allocate submissions link in the Submission phase area.
Here, you will see an interface that lets you manually allocate the student submissions for peer review.
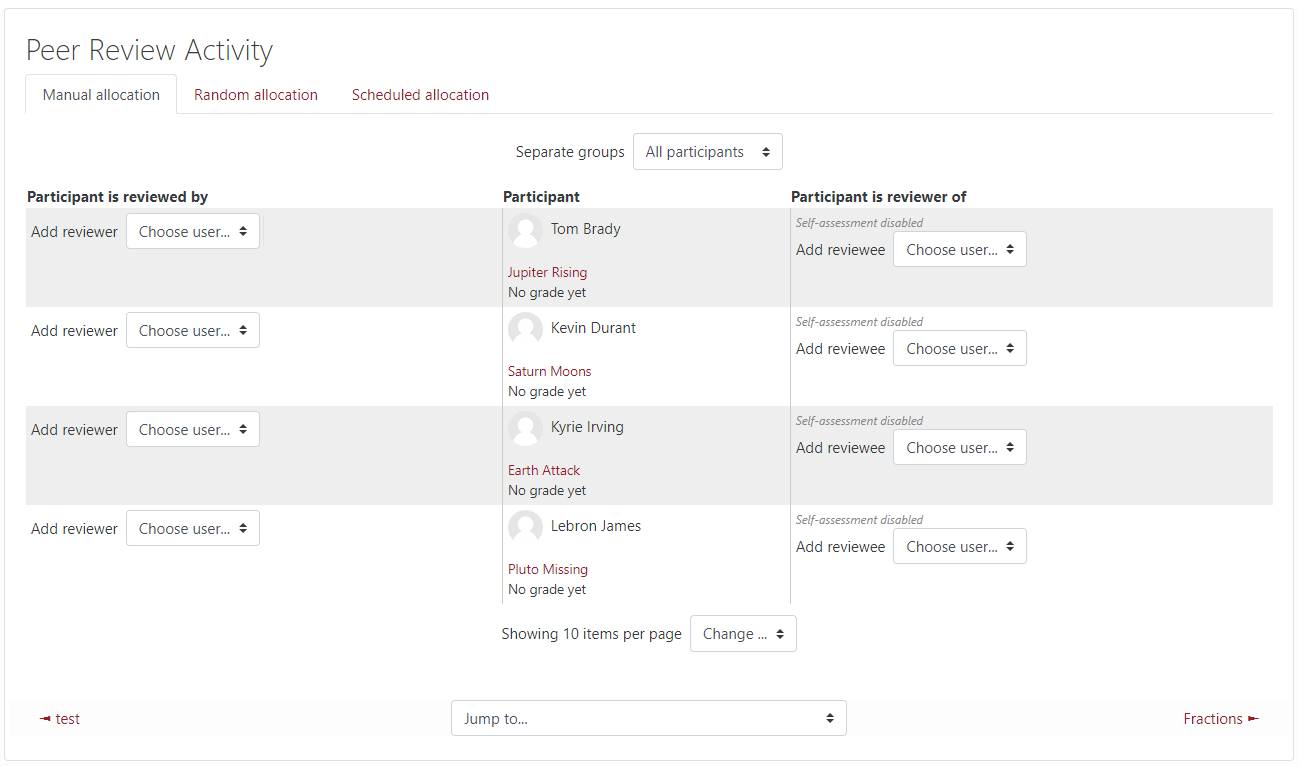
The default allocation is manual, meaning the teacher must assign a peer review to a student. You can also do a Random allocation or a Scheduled allocation. For this example, I will just use the default, manual allocation.
You can also allocated multiple users as needed. Now, return to the Workshop control panel. You will see a green checkmark next to Allocate submissions.
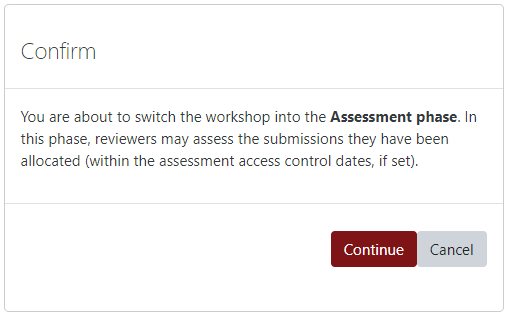
The submissions are all allocated so you can now proceed to the Assessment phase. Click the Switch to the assessment phase link to activate the Assessment phase.
Click the continue button when you see the notice about switching to the Assessment phase.
Now that the Assessment phase is activated you will see a Workshop grades report table.
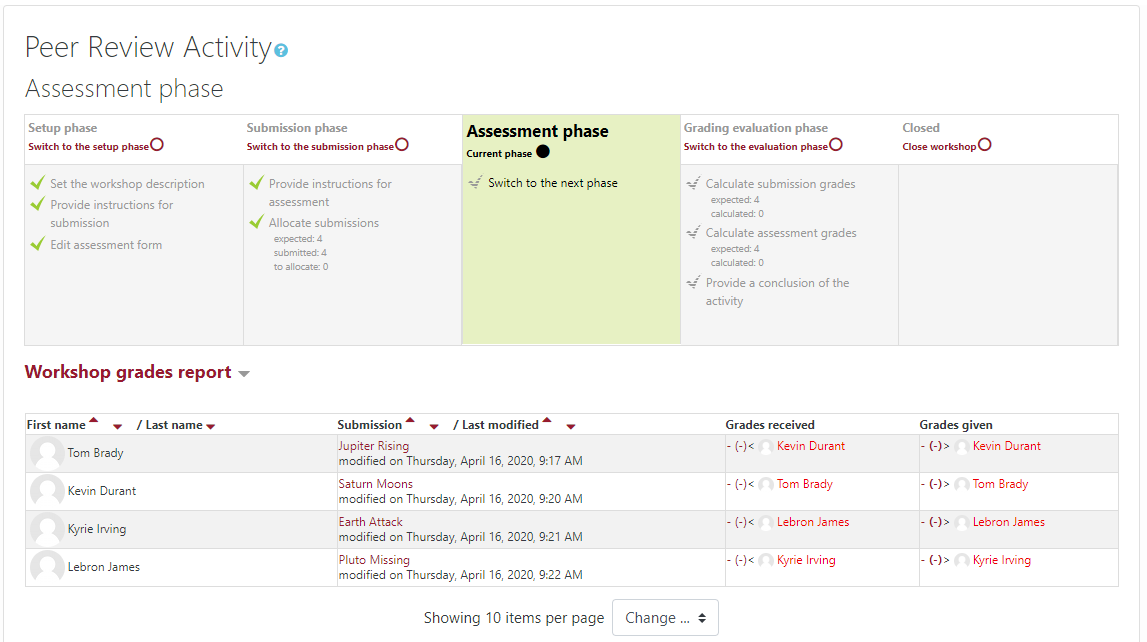
Currently, none of the students have completed the peer assessments.
Student View
Once the Assessment phase has opened, the students will see the following:
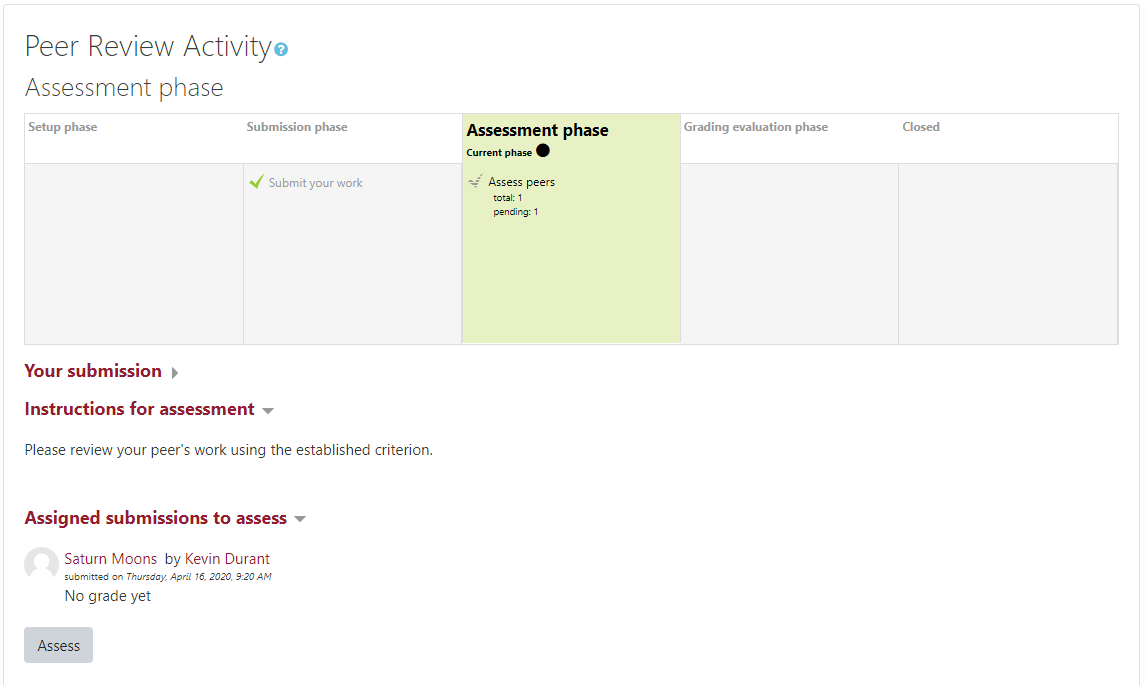
Note that the student can view his peer's assignment that he was allocated to in the Submission phase. To review the submission, the student must click the Assess button.
Now, the student will see the assessment form that the teacher created during the Setup phase. The student can also provide overall feedback on the peer submission.
Now return to Teacher view.
The teacher will see that all students have assessed their allocated item(s) and now have a grade listed.
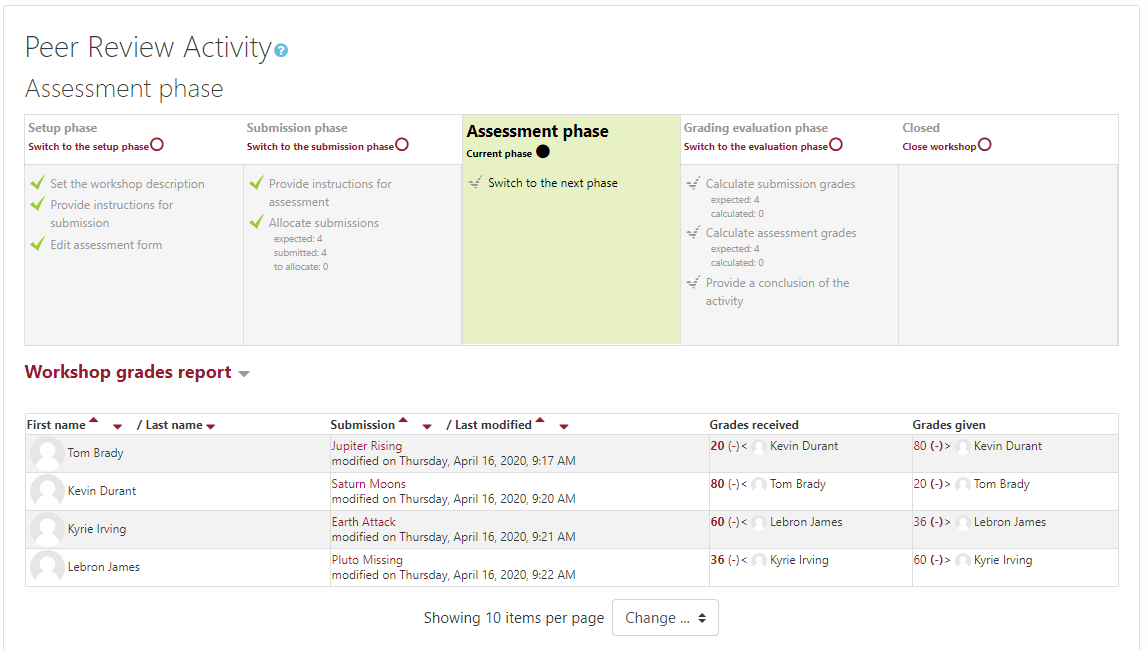
Now that the peer assessments are complete, the teacher can move to the Grading evaluation phase. Click the Switch to the evaluation phase link.
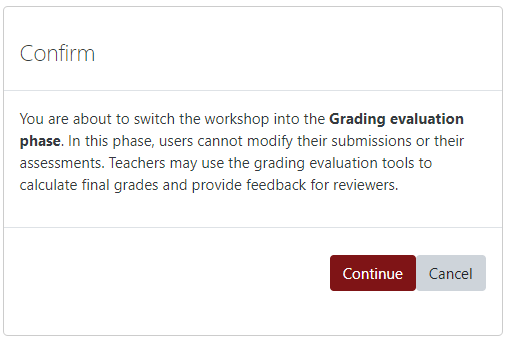
Click the Continue button to confirm the change to the Grading evaluation phase.
Now, the Grading evaluation phase will display.
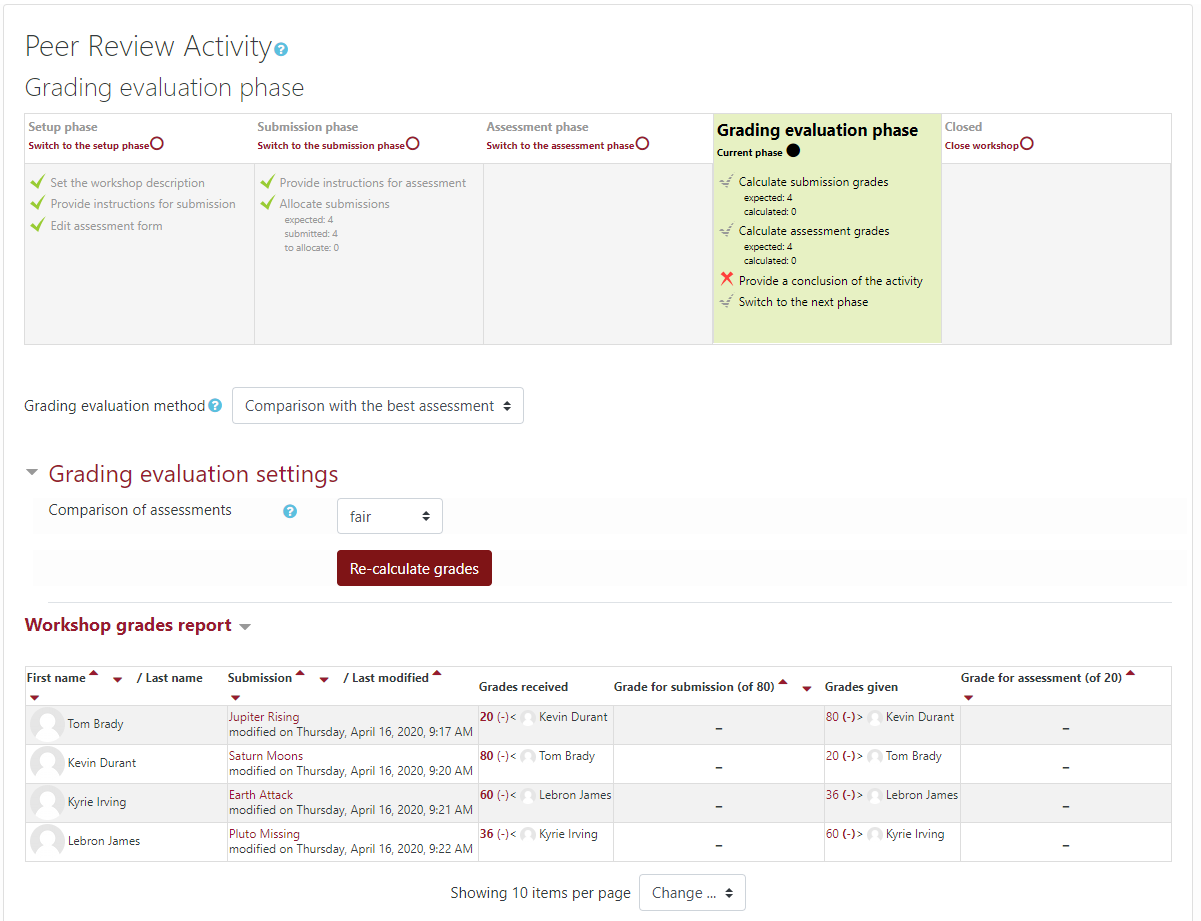
To automatically grade the items based on Moodle's Workshop alogrithm, click the Re-calcualate grades button.
The comparison of assessment option, by default, is set to fair. For a detailed explanation of these settings and how the algorithm is calculated, see:
https://docs.moodle.org/38/en/Workshop_settings#Grading_evaluation_phase
https://docs.moodle.org/38/en/Workshop_grading_strategies
After clicking the Re-calculate grades button you will see grades listed in the table:

If you want to re-calculate the grades, expand the Workshop toolbox below the grades table:
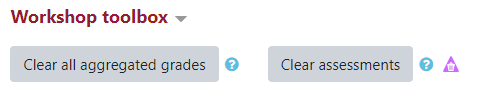
Click the Clear all aggregated grades button to clear the grades and then you can re-evaluate. Note that if you click the Clear assessments button, ALL student peer assessments will be erased.
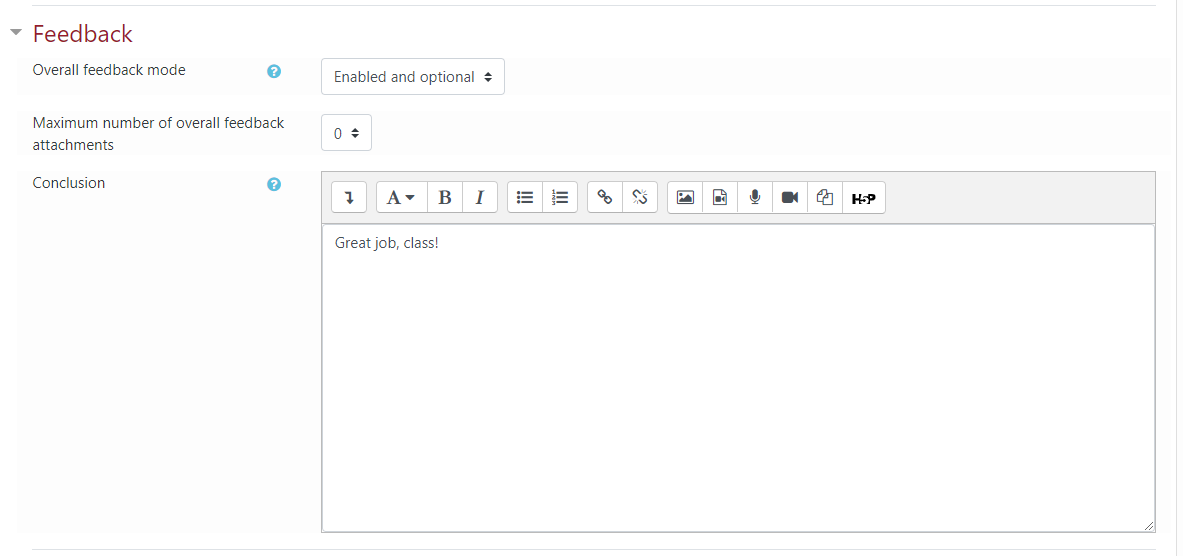
Now, the teacher must provide a conclusion for the activity. Click the 'Provide a conclusion of the activity' link in the Grading evaluation phase area.
You will return to the original Workshop activity creation page. Expand the Feedback branch and add a Conclusion:
Now click the 'Save and display' button to return to the Workshop activity.
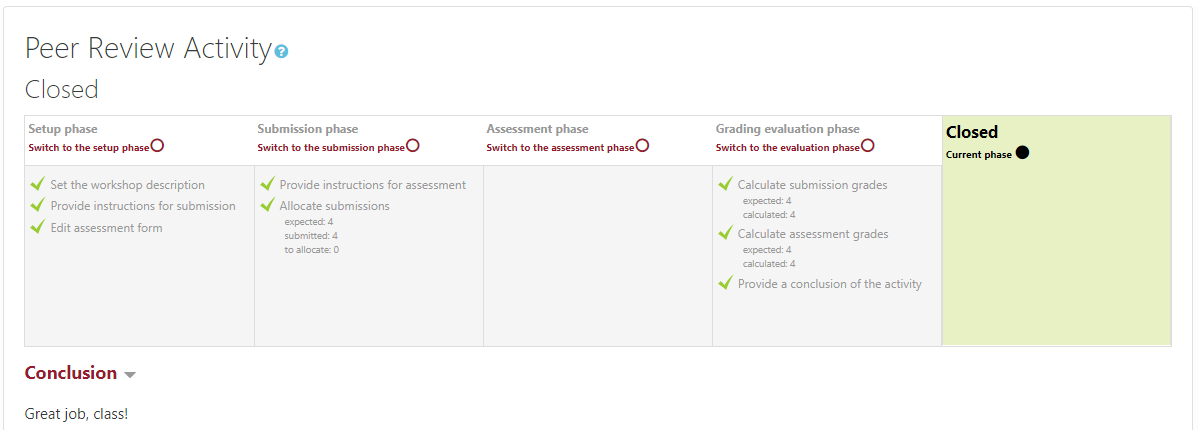
You will see that the Grading evaluation phase is complete.
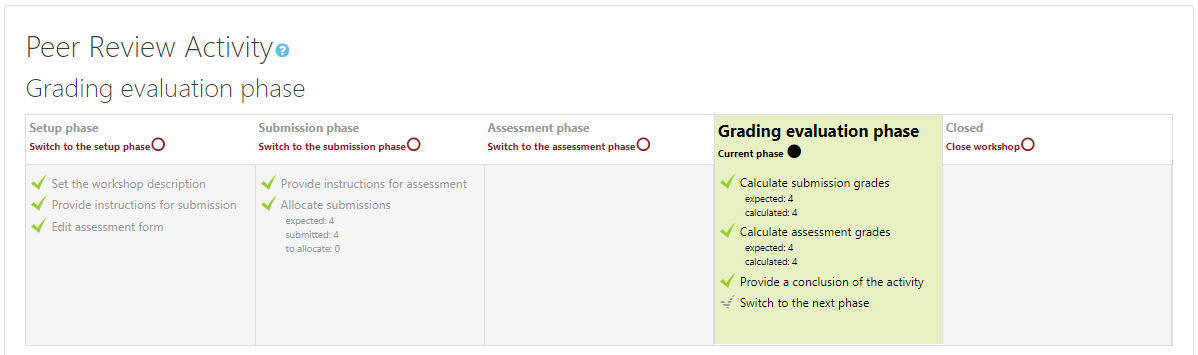
To finish the activity, now click the Close workshop link in the Closed area of the Workshop control panel. Click the Continue button to confirm the change to the Closed evaluation phase.
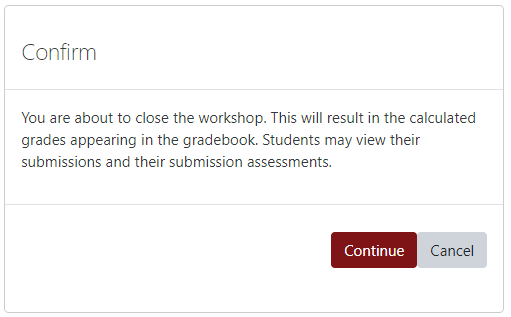
This will end the activity and the grades will be entered into the Moodle gradebook.
For more information about the Workshop activity, see:
https://docs.moodle.org/310/en/Workshop_activity
https://docs.moodle.org/310/en/Using_Workshop