
Databases
The Database module activity allows the teacher and/or students to build, display and search a bank of record entries about any conceivable topic. The format and structure of these entries can be almost unlimited, including images, files, URLs, numbers and text amongst other things.
Creative uses of Databases
You can use the database module to:
- allow collaboration on building a collection of web links/books/journal references related to a particular subject
- display student created photos/posters/websites/poems for peer comment and review
- gather comments and votes on a shortlist of potential logos/mascot names/project ideas
- provide a student file storage area
To add a database activity, turn editing on and click the "+Add an activity or resource" link in any section of your course. You will see the following:
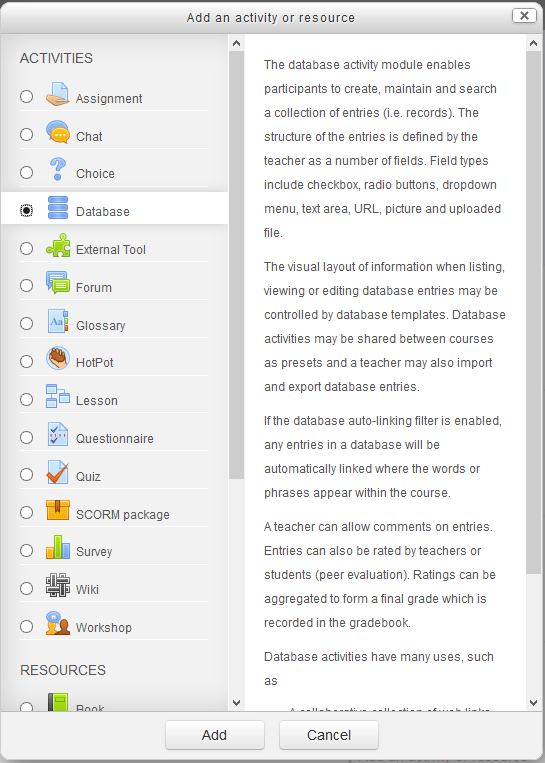
Select the 'Database' option. Now click the 'Add' button.
You will then see the following page:
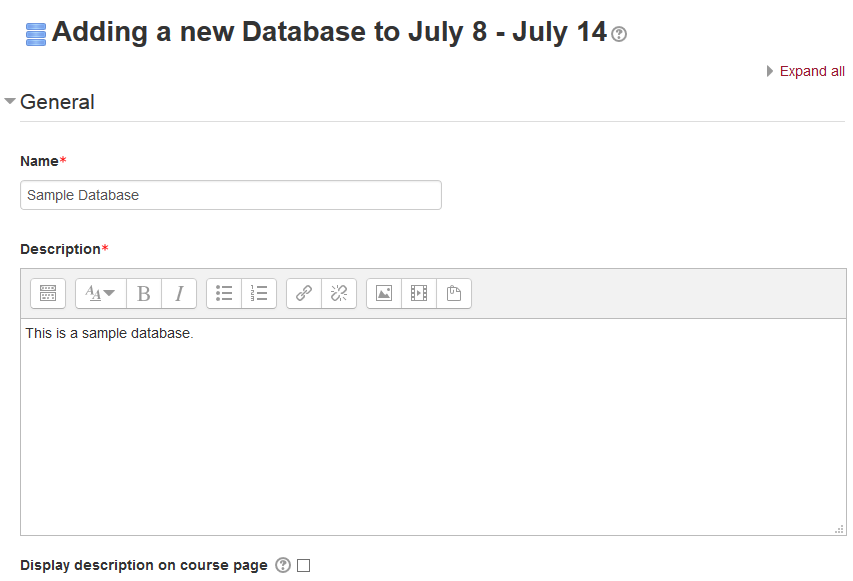
The Name entry box is where you name your database. This title will appear in your course as a link to the database.
The Description is where you may put instructions for the database. The information you enter will appear at the top of your database. Click the Show editing tools button to display the HTML editor. It allows you the use styled text, graphics, and other options.
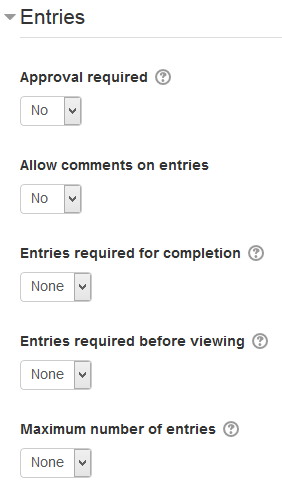
Now, expand the 'Entries' branch. Here you will see many settings that modify how the database works:
Now, expand the 'Availability' branch:

You may set the date(s) when the database is available in your course.
Now, expand the 'Common module settings' branch:
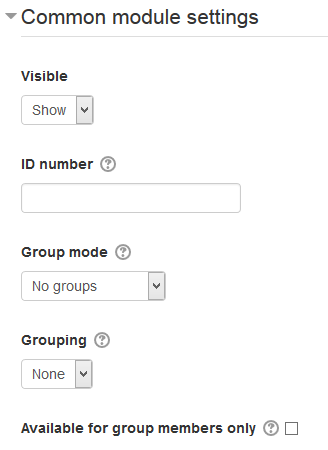
The Common module settings section allows for the "Group mode" to be employed. If you wish to use your course for multiple classes and want each to see separate items, you will want to set this to 'Separate groups'.
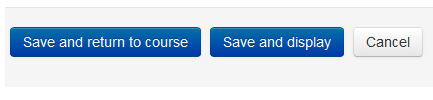
Click the 'Save and display' button to complete the initial settings for a database:
Now you will be taken to your database activity. This is the location where you design your database.
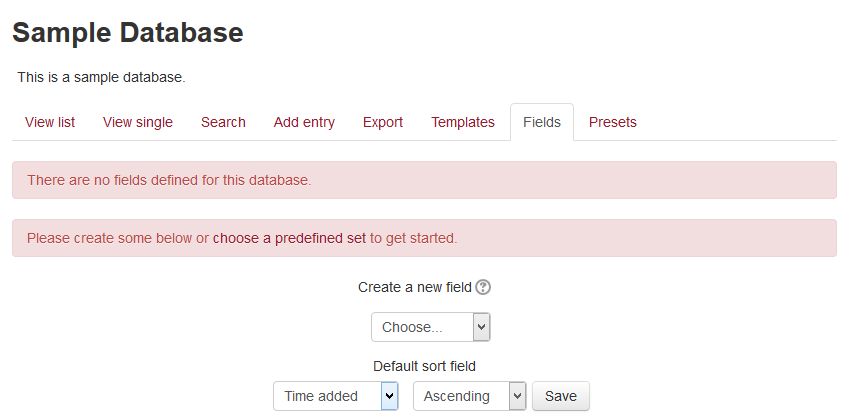
Adding Fields
The first step in building your database is defining the fields. A field is a named unit of information. Each entry in a database can have multiple fields of multiple types, for example, a text field called 'favorite color' which allows you to type in your favorite color, or a menu called 'State' that lets you choose one from a list of the 50 that make up the USA. By combining several fields with appropriate names and types you should be able to capture all the relevant information about the items in your database.
For complete descriptions of all of the available fields, please see:
http://docs.moodle.org/27/en/Database_fields
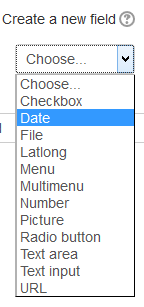
First, I'll add a date field.
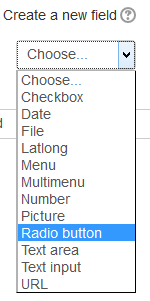
Select the Date option in the drop down menu:
The following screen will display:
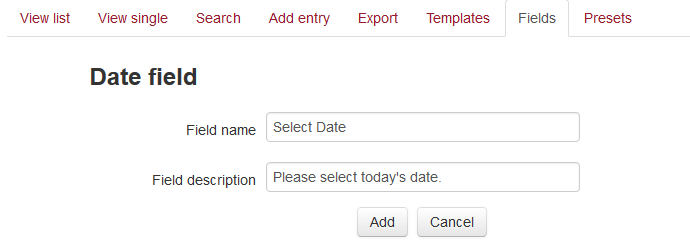
Once you enter the required text, click 'Add'. You will see that your field was successfully added.

Now, you can continue and add more fields.
Next, I'll add a Radio button field.
Select the Radio button option in the drop down menu:
The following screen will display:
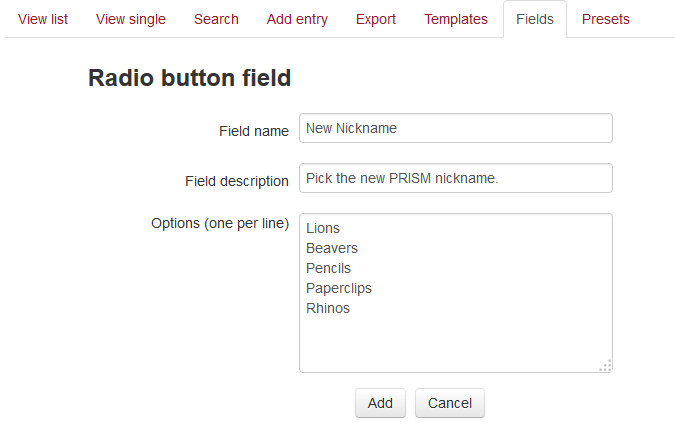
Once you enter the required text, click 'Add'. You will now see that the radio button field was added successfully.

Templates
Next, you need to define the template in your database. Templates allow you to control the visual layout of information when listing, viewing or editing database entries.
Please note: You must define a template before you or students are able to view entries in the database.
For a description of all of the types of templates, please see:
http://docs.moodle.org/27/en/Database_templates
For this example, I'll use the List template. Click the 'Templates' tab, and you should be taken to the single template. Now, click the 'List Template' link. Enter information from the Header, and the Footer. The Repeated entry box should already be configured.
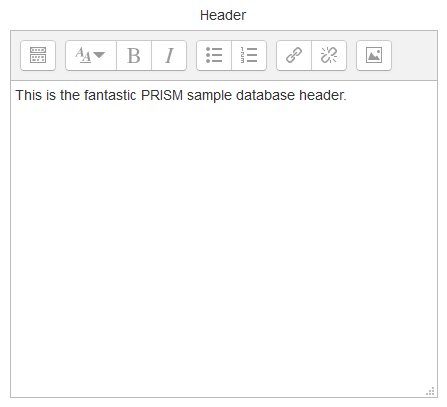
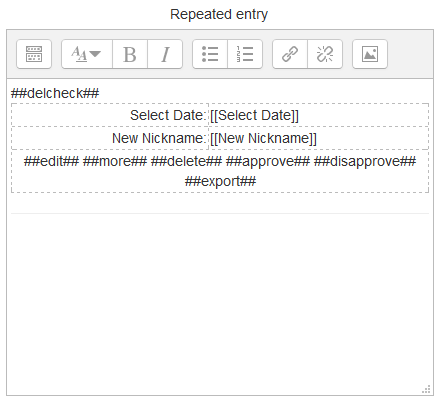
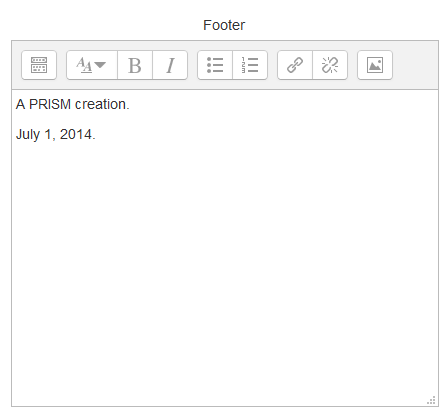
I added header text and footer text. Now, click:
![]()
Adding Entries
Now, we need to add some entries to the database. Click the 'Add entry' tab in your database.
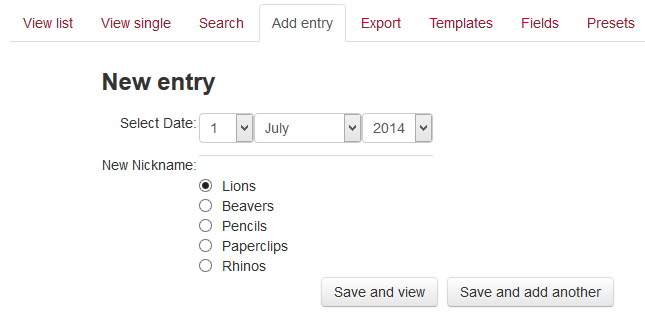
Now you will see a new entry box for the fields you defined in your database.
Make your selections and click 'Save and view'.
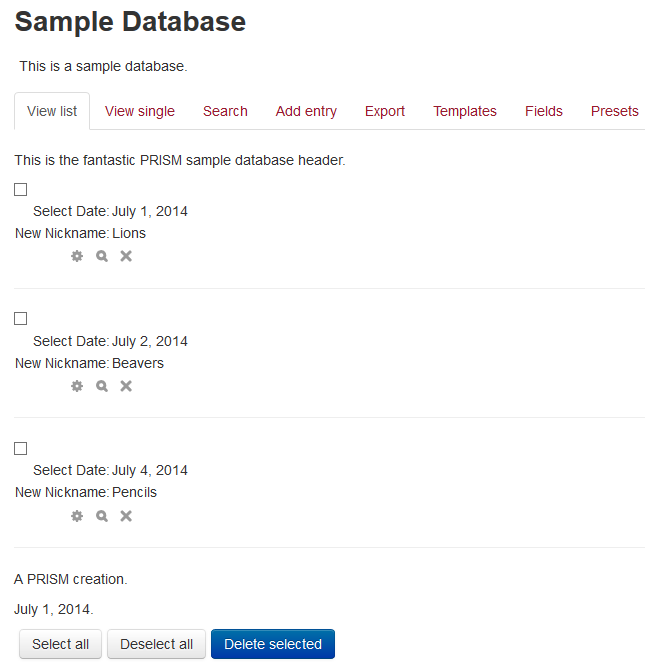
Now you will see your first database entry.
You can now add more entries to the database.
Click the 'View list' tab to see all of your database entries:
This covers the basics of adding a database activity to your course. The database activity is very powerful and has many possible applications.
For more information, please see:
https://docs.moodle.org/34/en/Database_activity