
HTML Editor
Many of the activity and resource options in PRISM's courses display a text box under the Moodle HTML editor. Without knowing any HTML, one can easily make postings that contain boldface or colored type, pictures, and web links. Advanced users can compose web pages in their favorite graphical web page editor and copy and paste their HTML code into Moodle.

If one doesn't need to use any special type size, color, emphasis (bold, underline, etc.) or graphics, just typing the text you want into the text box will get the job done nicely.
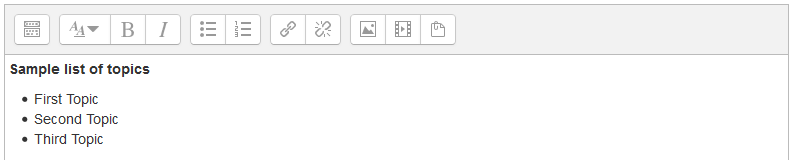
To see the entire editor with all options enable, click this button: ![]()
The full editor will display:

Tooltips
The quickest way to find out what all the icons do in the editor is to watch for tooltips. When you move the cursor over most items in the text editor bar and let it stay put for a few seconds, the name or a short phrase describing its function appears.
Styled Text
To add styled text in an entry box, just click on the appropriate icon before typing. To go back an add styling to text, highlight the text you wish to style and then click on the appropriate icon. It works a lot like the toolbars you see in word processors such as Microsoft Word or Google Docs.

Lists
Making lists, either bulleted or ordered (numbered), works just as adding style to text.
Add Text:
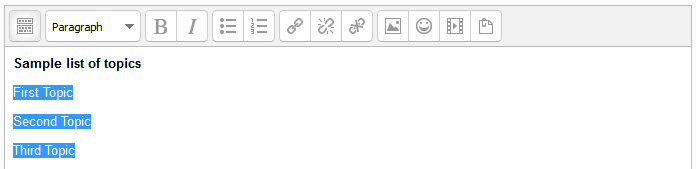
Highlight and click the 'Insert/remove bulleted list' button:
Adding Images
Adding images to your course can be done within the HTML Editor.
In the HTML Editor, click the 'Insert/edit image' button: ![]()
That will bring up the following window.
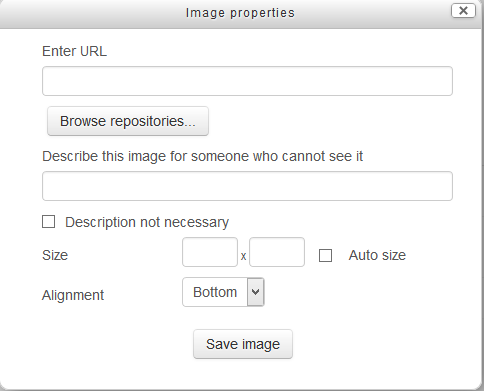
Now, click the 'Browse repositories...' button. You will now see the File picker:
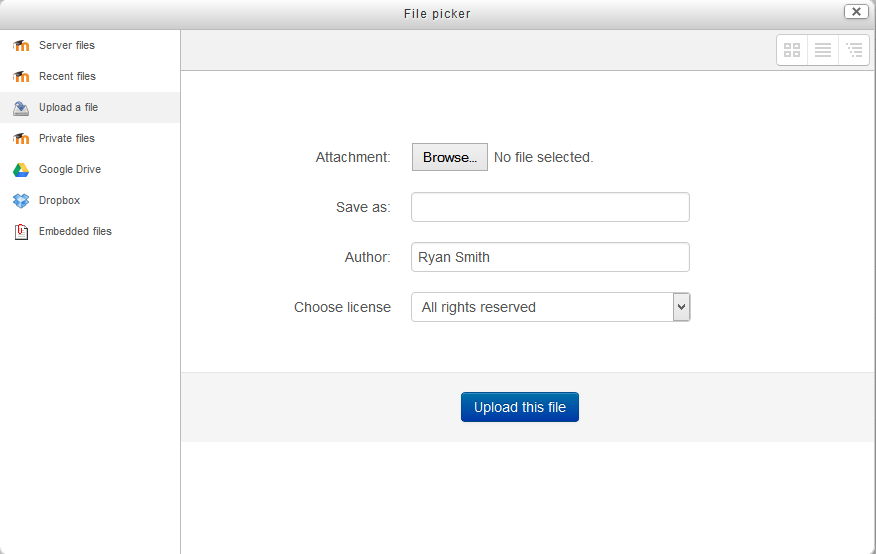
To attach a file, click the 'Browse' button. That will bring up a navigation box on your computer. Just navigate to the graphic you wish to upload , select it, and click "open".
Now you will return to the File Picker. Click the 'Upload this file' button. You will see the Insert image box appear again, this time, with your image inside the box. Give the image an image description and click the 'Save image' button in the lower left.
You will now return to the HTML Editor and see your image displayed inside the window. If the image is too large, you can resize the image by clicking the upload image button again and changing the size fields.
Adding Website Links
Website links can also be added using the HTML Editor.
To add a link, paste the URL address of your link in the HTML Editor:

Now, highlight the link text and click the Insert/edit link button: ![]()
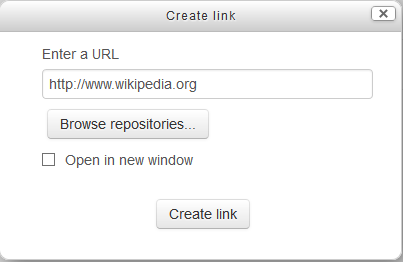
Paste your web link into the Enter a URL field.
Now click the Create link button. You will return to the HTML Editor and see the link text is hyperlinked:

For futher information, please see: